There’s a quiet rhythm that fills our kitchen when sourdough is rising on the counter — the kind that slows you down without asking you to stop.
In our home, we let time do the heavy lifting. A 12–14 hour cold ferment gently breaks down gluten and phytic acid, making the bread softer, more digestible, and full of flavor. It’s a simple act of patience that transforms flour and water into something nourishing and alive.
I started baking sourdough during a season when life felt too fast. Everything was loud — full of alerts, lists, and shoulds. Bread became a small rebellion against all that hurry. Mixing, folding, waiting — it taught me that rest isn’t empty time; it’s fruitful time.
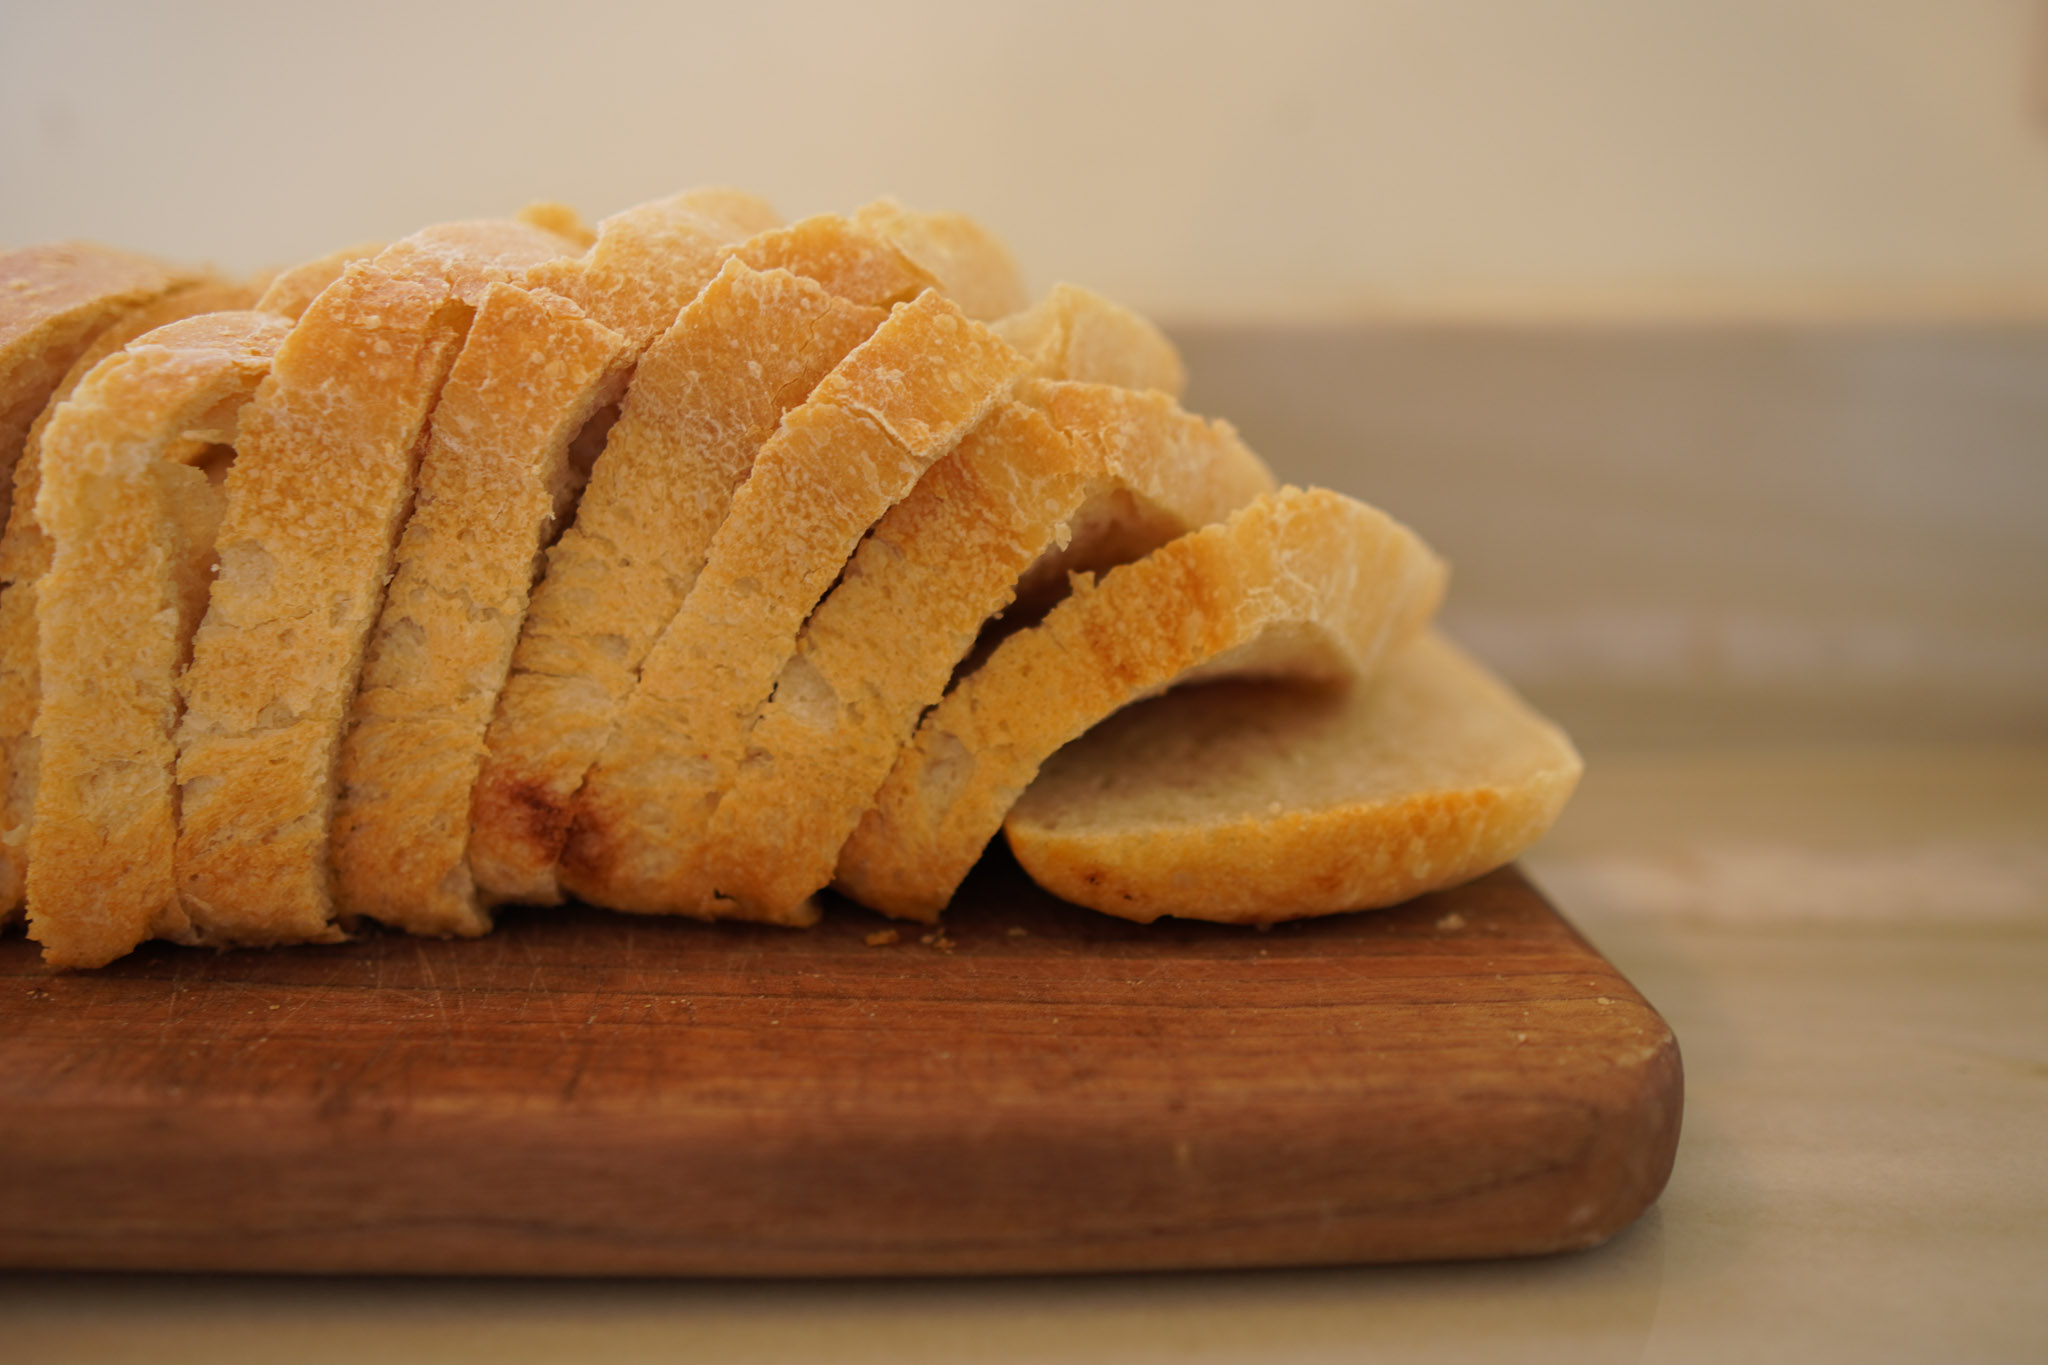
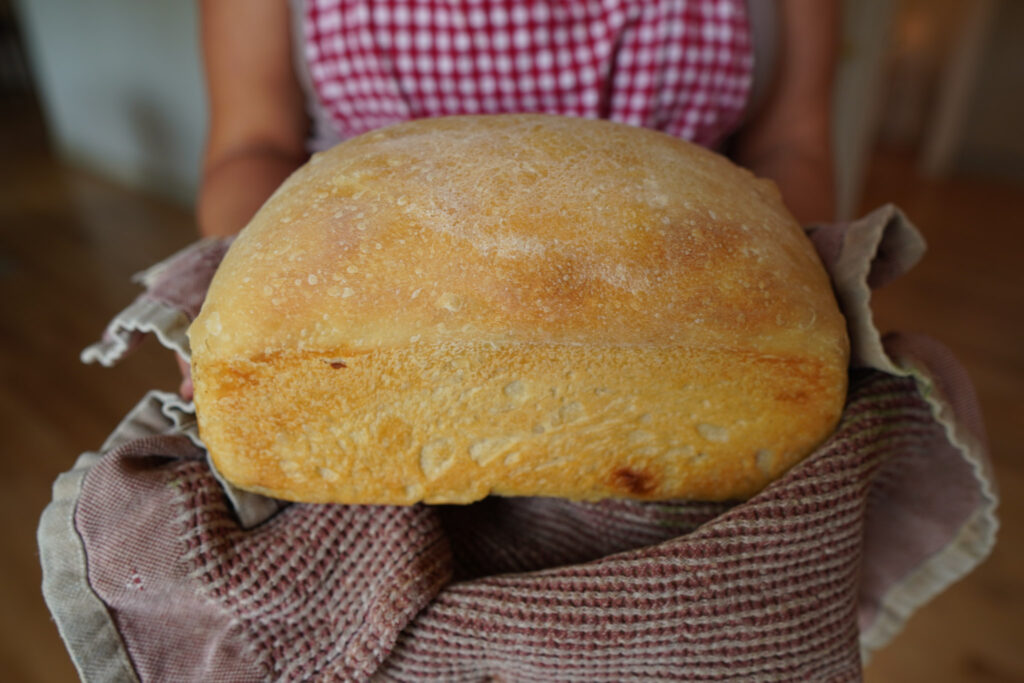
This loaf, in particular, has become our daily bread. It’s soft and sliceable, with a subtle tang that pairs as easily with peanut butter as it does with butter and salt. It takes two days, yes — but almost all of that time is hands-off. You’ll spend a few minutes tending it, and the rest letting it do its quiet work while you do yours.
It’s a loaf that fits seamlessly into an intentional life — one shaped by rhythm, not rush.
Why Long-Fermented Sourdough?
Sourdough doesn’t demand instant results. Instead, it rewards patience. A long, slow fermentation gives this bread both depth of flavor and gentleness on digestion.
When you give the dough time to rest — especially during an overnight cold proof — natural enzymes and bacteria begin to break down gluten and phytic acid. That’s what makes sourdough easier to digest and what gives it that tender crumb and mild tang we love.
This isn’t complicated baking. It’s simply the art of waiting — of trusting time to do what you can’t force.
Ingredients: Minimal and Nourishing
Just seven ingredients, all simple and familiar:
- Active sourdough starter
- Organic all-purpose bread flour
- Filtered water
- Sea salt
- Olive oil
- A drizzle of honey (optional)
- A touch of apple cider vinegar
Each one serves a purpose. The olive oil keeps the loaf tender, the vinegar strengthens the structure, and the honey brings a quiet sweetness that rounds out the flavor. Together, they create a soft, balanced loaf that holds its shape beautifully.
A Two-Day Process, Naturally
Day 1: Build and Ferment
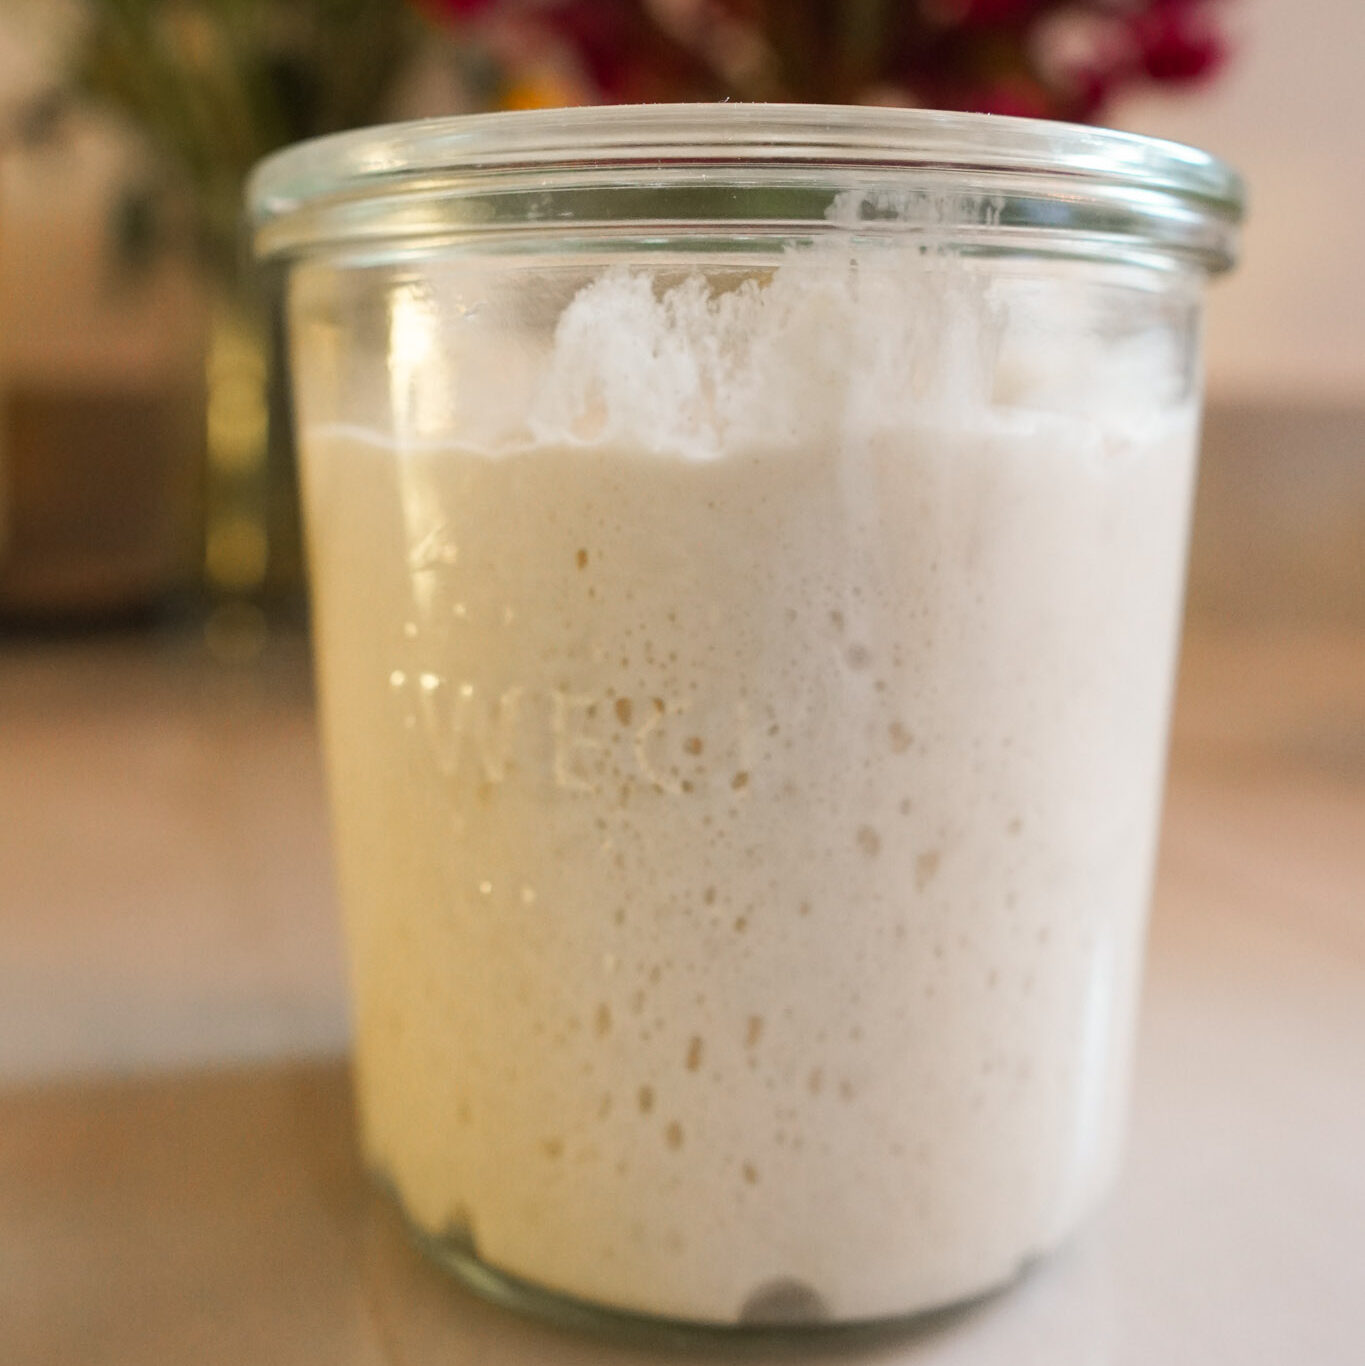
1. Feed Your Starter
Begin with a bubbly, active sourdough starter. Feed it a few hours before mixing so it’s strong and lively. If you’re new to sourdough, I’ve written guides on how to feed a starter and how to build one from scratch — both are simple and approachable.
2. Mix the Dough
In one bowl, whisk together your flour and salt. In another, combine starter, water, olive oil, honey (if using), and apple cider vinegar.
Pour the wet mixture into the dry and stir with a spoon or your hand until a shaggy, sticky dough forms. It should feel soft and slightly tacky — resist the urge to add more flour. That gentle hydration is what makes your crumb soft later.
3. Bulk Fermentation (4–6 hours)
Cover the bowl with a damp towel and let it rest at room temperature. Every 30 minutes for the first 2 hours, perform a gentle stretch and fold to build strength. After 4–6 hours, your dough should have a light rise and feel smoother to the touch.
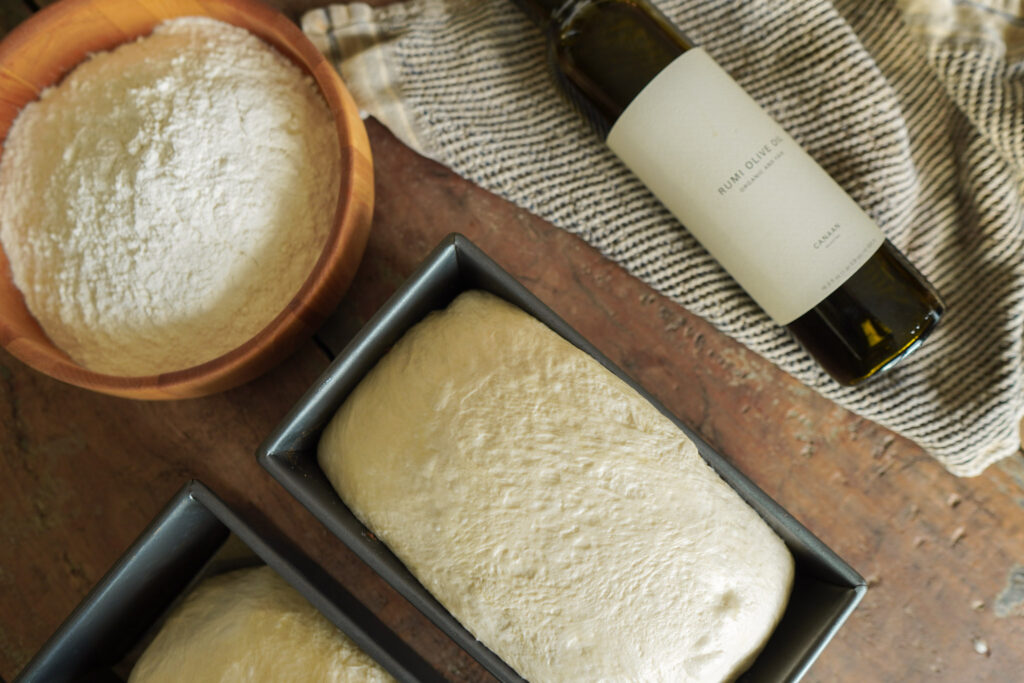
4. Shape the Dough
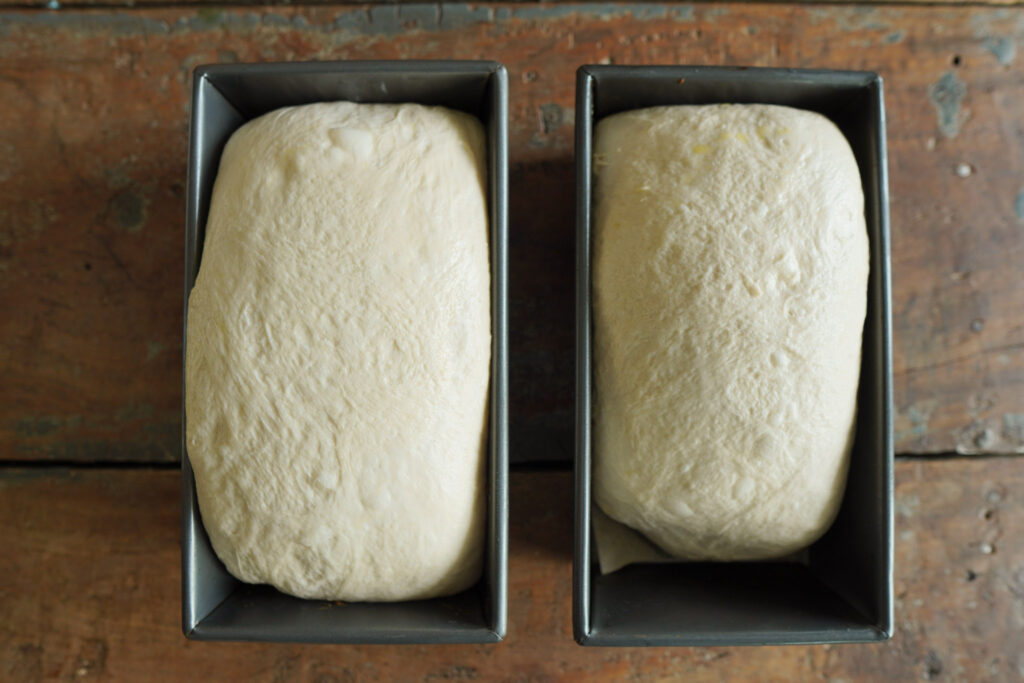
Dust your counter lightly with flour. Gently shape the dough to fit a 9×5-inch loaf pan. Avoid kneading — just guide it. Place the dough into a lightly greased pan and cover with a loose plastic bag or damp towel.
5. Cold Proof (12–14 hours)
Transfer the covered loaf to the refrigerator. This slow rise deepens the flavor, improves texture, and makes the bread easier to digest.
Day 2: Bake and Enjoy
6. Preheat the Oven
When you’re ready to bake, preheat your oven to 375°F (190°C). If you have a baking stone or steel, place it in the oven as it heats — it helps maintain even warmth.
7. Bake (40–50 minutes)
Bake the loaf (still in its pan) directly on the hot surface. Check after 35 minutes. If it’s browning quickly, tent it loosely with foil.
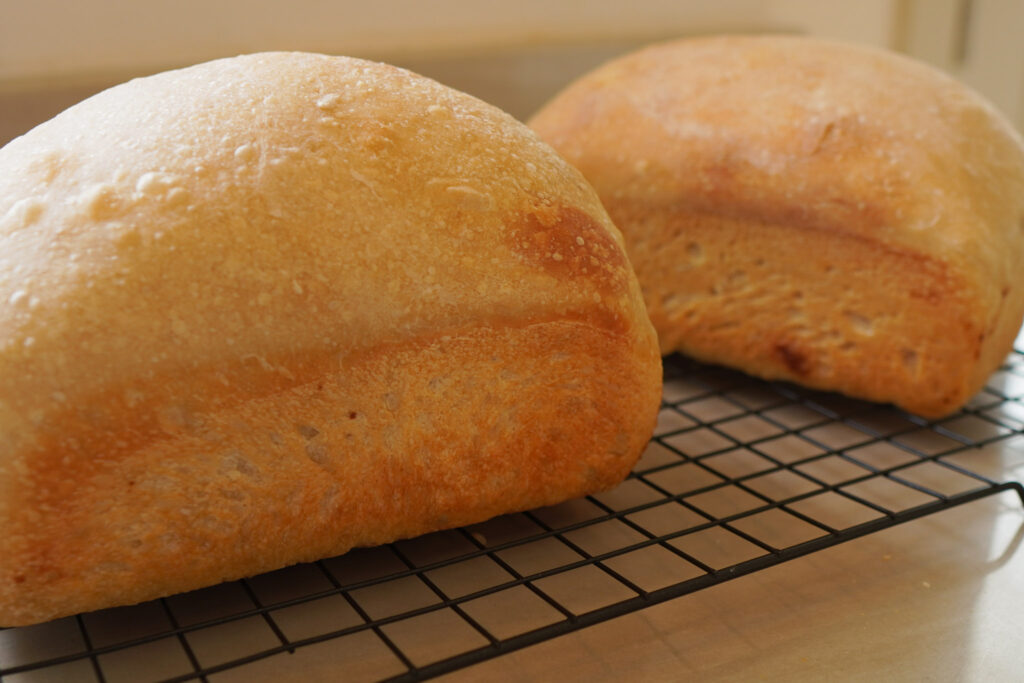
Your bread is ready when the top is golden and it sounds hollow when tapped, or when an internal thermometer reads 200°F (93°C).
8. Cool Completely
Let the loaf cool in the pan for 10 minutes, then transfer to a wire rack. Wait until it’s fully cool before slicing to allow the internal structure to set.

Storing Your Sourdough
- At Room Temperature: Wrap in a clean towel or store in an airtight container for up to 3 days.
- In the Freezer: Slice and freeze in a reusable bag. Toast slices directly from frozen for fresh bread anytime.
Intentional Notes for Intentional Bakers
Hydration: This dough should be slightly sticky — that’s how you get a soft, tender crumb. If it feels too wet, you can add up to 25g more flour during mixing.
Spelt Flour Option: Replace half the flour with spelt for a lower-gluten loaf. It bakes up slightly nuttier with a more delicate crumb.
Soft Crust Tip: Brush the top with olive oil or melted butter right after baking. It keeps the crust soft and adds a lovely sheen.
Why This Recipe Works
This long-fermented method takes time, but not much effort. The dough practically makes itself — you just guide it.
The overnight cold proof gives the bread structure and flavor without needing commercial yeast or additives. It’s reliable, forgiving, and fits easily into a busy routine: mix on Saturday morning, bake on Sunday, and enjoy all week.
The texture is soft enough for sandwiches but sturdy enough for toast. The flavor is mild — that gentle sourdough tang that’s more comforting than sharp. It’s the kind of bread that feels humble and nourishing, never fussy or forced.
A Loaf Worth the Wait
This bread isn’t fast. It doesn’t rely on gadgets or shortcuts. It’s shaped by time, patience, and presence — the same values that steady the rest of life.
There’s something deeply grounding about baking bread that asks you to pause. You can’t rush fermentation. You can’t skip rest. And maybe that’s the beauty of it — a quiet reminder that some things are meant to take their time.
Slice it thick for morning toast. Pack it for lunch with butter and salt. However you enjoy it, let it remind you to slow down, breathe, and savor what’s right in front of you.
Closing Reflection: Bread as a Teacher
I’ve come to believe bread teaches us more than how to bake. It teaches rhythm, patience, and trust. It shows that good things grow when we make room for stillness.
So if your dough takes longer to rise, if the top browns a little more than planned, don’t worry — it’s still good. Maybe that’s part of the lesson.
This long-fermented sourdough isn’t about perfection; it’s about practice. About shaping something simple and finding joy in the waiting.If this recipe brought a little calm to your kitchen, I’d love for you to subscribe to my newsletter so you never miss another slow, nourishing recipe. Or share it with a friend who’s learning to bake — because sometimes the best gifts rise quietly, overnight.
PrintSoft Sandwich Sourdough Bread (Long-Fermented & Easy to Digest)

A simple, two-day sourdough recipe that’s soft, sliceable, and naturally easy to digest — perfect for intentional bakers and slow living.
Ingredients
- 150g active sourdough starter (all-purpose flour based)
- 400g organic all-purpose bread flour
- 250g filtered water (room temperature)
- 10g sea salt
- 15g olive oil
- 5g honey (optional, for light sweetness)
- 1 tbsp apple cider vinegar
Instructions
Day 1: Build and Ferment
- Make sure your sourdough starter is active and bubbly before mixing.
- In one bowl, combine flour and salt. In another, whisk starter, water, olive oil, honey, and vinegar. Pour wet into dry and stir until a shaggy dough forms.
- Cover with a damp towel. Every 30 minutes for the first 2 hours, perform a stretch and fold. Let rise until slightly puffy.
- Transfer to a floured surface, shape to fit a 9×5-inch loaf pan, and place in a lightly greased pan.
- Cover and refrigerate overnight to develop flavor and texture.
Day 2: Bake and Enjoy
- Preheat oven to 375°F (190°C) with a baking stone or sheet inside to help regulate heat.
- Bake loaf directly on the hot surface until golden and hollow-sounding (internal temp 200°F / 93°C). Tent with foil if browning too quickly.
- Cool 10 minutes in the pan, then transfer to a rack. Slice only when fully cool.